The Antique Safe Restoration Process:
Step by Step
Restoring an antique safe is not the same job as refinishing a piece of furniture, and it’s not the same job as repairing a modern security safe. It sits in between: a restoration has to respect a hundred-plus-year-old piece of engineering while also making it fully functional again. At Tullson’s, our antique safe restoration process blends historical research, metal and locksmith work, and hand-applied artwork, and it’s built around one goal — a safe that looks and operates the way it did the day it left the factory, not a modern reinterpretation of it.
Assessment and documentation come first.
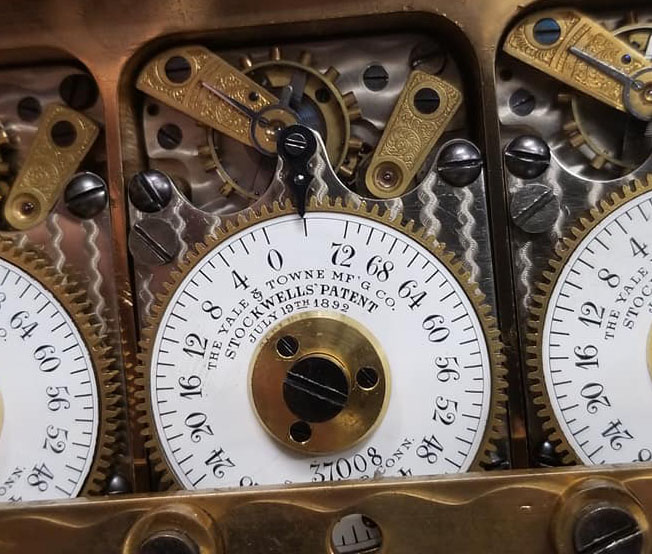
Before any tool touches the safe, we photograph and document its condition: existing paint layers, murals, hardware, maker’s marks, and the state of the locking mechanism.
This step matters more than people expect. Old safes are frequently repainted, and the color sitting on the surface today is often not the original — decades of exposure can darken or yellow a finish that started out silver or another lighter tone entirely.
Getting the history right before we touch anything prevents us from restoring the wrong version of the safe.

Disassembly and plating are next.
On a full restoration, we remove the door from its hinges and take the interior boltwork apart piece by piece — bars, dials, hinges, and locking components. Depending on the safe’s age and hardware, these pieces typically go out for plating (chrome, nickel, or brass) to restore both their function and their finish, since decades of grease, rust, and wear compromise the metal’s ability to move smoothly and hold up long-term.
Bodywork and Paint
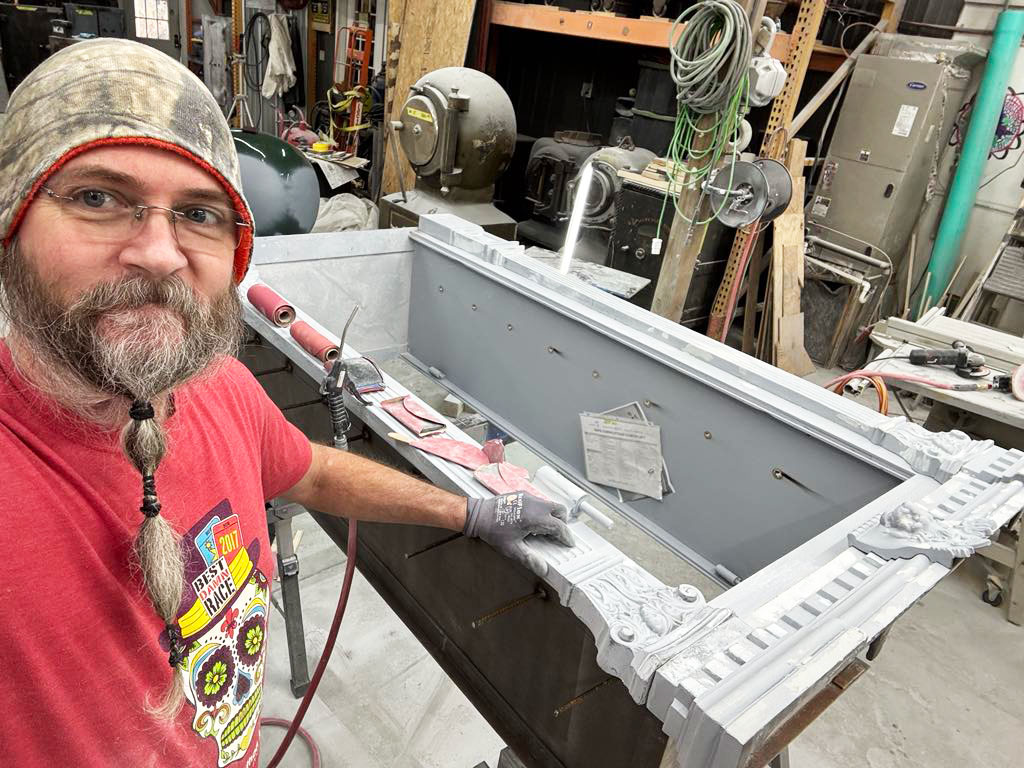
These follow the same rule as any quality refinishing job: the prep takes as long as the paint.
We spend as much time sanding, filling, and smoothing the exterior as we do actually painting it, because any shortcut in the foundation shows up as flaws within a year or two.
Once the body is ready, we prime and paint using modern, non-yellowing sealers so the finished piece holds its true color for decades rather than drifting the way the original finish did.
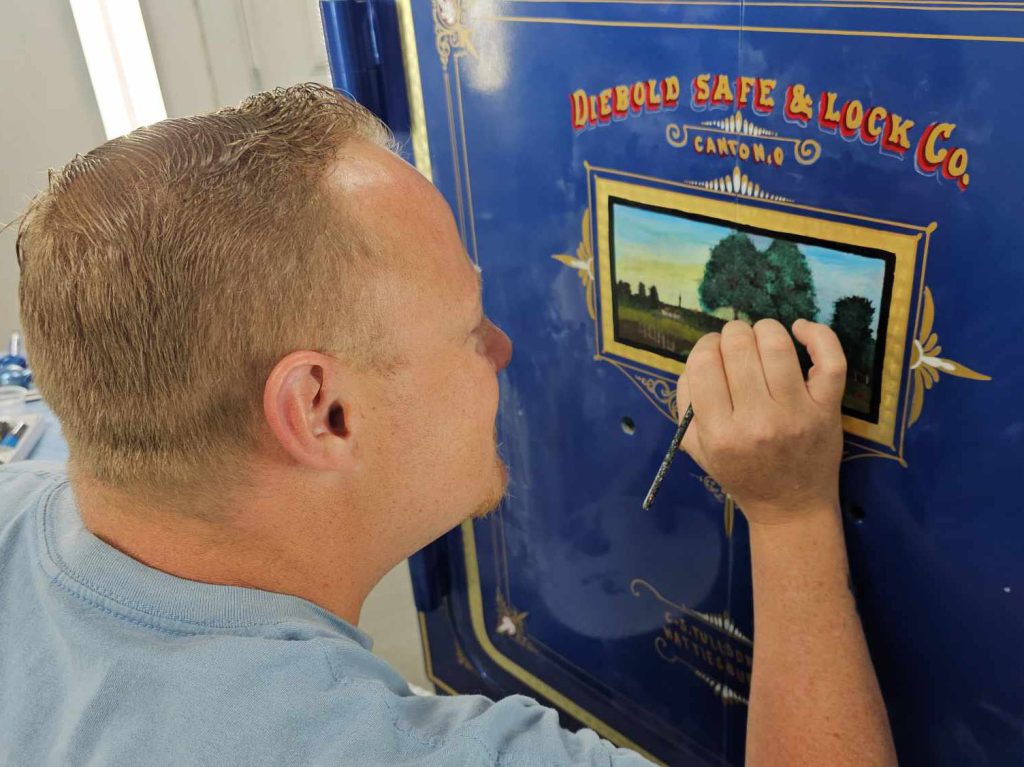
Murals, Pinstriping, and Gold Leaf
On a full restoration, we remove the door from its hinges and take the interior boltwork apart piece by piece — bars, dials, hinges, and locking components. Depending on the safe’s age and hardware, these pieces typically go out for plating (chrome, nickel, or brass) to restore both their function and their finish, since decades of grease, rust, and wear compromise the metal’s ability to move smoothly and hold up long-term.
If you’re trying to figure out what your specific project will involve or cost, our Premium Line and Standard Line services break down the two restoration tiers we offer.